
Scenario: "Rude Mood" AP79
Publication: Action Pack 8: Roads to Rome
Participants: Jim "HeavyD" D, Myself
Time: Fri, 4/20 ~ 6PM - 8PM
Sat, 4/21 ~ 12PM - 2PM

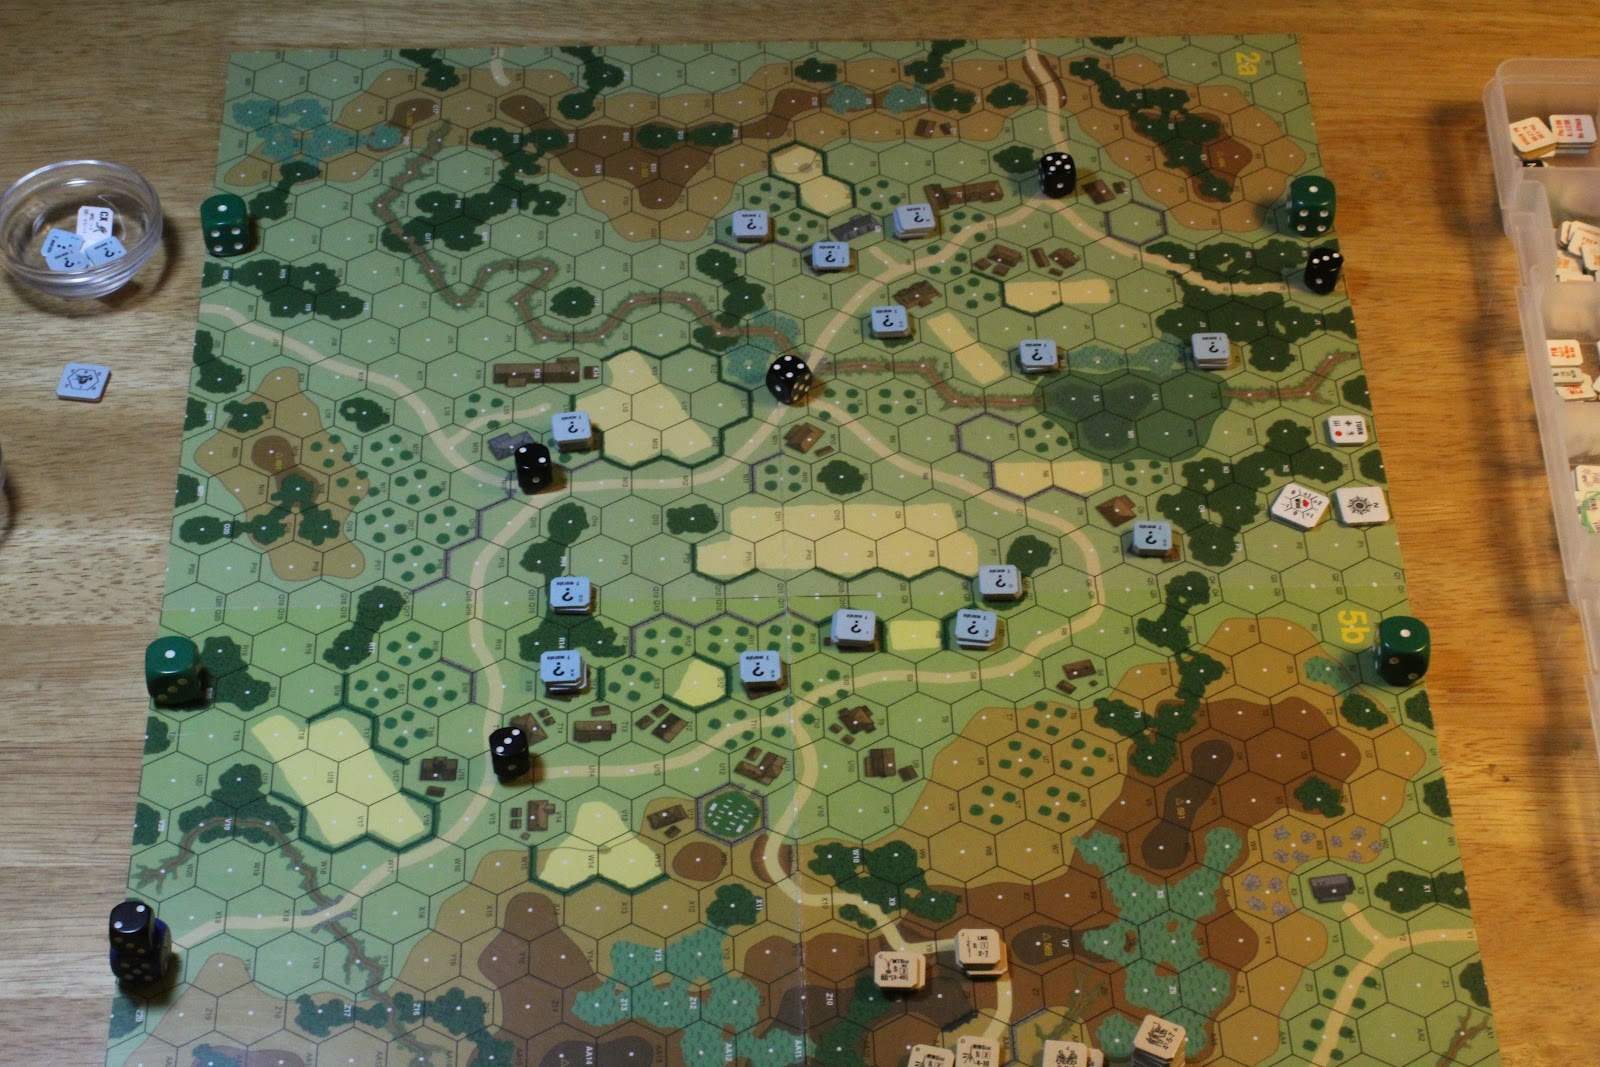 |
| HeavyD's Set up |
VCs like this create tension early in the game for both players. It's a little like having two separate scenarios going on at the same time, the early game where either player can win; then if there is no winner the late game changes the dynamics of the scenario and forces the players to change gears. I found this one quite enjoyable as during the first three turns I was faced with thinking through two sets of VCs and trying to manage the game towards those two ends.
 |
| My Set Up |
The German player is defending in this one. Elements of the 90th PG Division are set up in a town facing a big hill on which the Free French player will set up on. The German players force consists of 8 4-6-7s, 2 2-2-8s lead by 2 8-1s and a single 7-0. This force has a 50L ATG as well as a 20L AA gun backing them up. The Infantry also has a MMG, 2 LMGs, 2 50* MTRs and 6 Concealment counters. The German player is able to set up concealed if he sets up in concealment terrain.
The Free French forces come in two groups. The first group sets up on board and consists of 9 4-5-7s, 2 2-2-8s lead by a 9-1, 8-1 and an 8-0. These forces have 2 MMG(a)s, 3 LMGs and 2 60* MTR(a)s. This group sets up on the hill overlooking the town that the Germans are defending. On or after turn 1, a second group enters the map along the South edge, this force contains 3 4-5-7s and a 9-1 along with 2 M4A2(a) tanks and 3 M5(a) half tracks. There is a mild breeze blowing from the SW and the FF forces are both Stealthy and may initiate HtH CC as if they were Gurkhas. As I was the defender in our last scenario, I was the Free French player in this one.
As I sat down to look at the board after HeavyD's set up I knew we were in for a wild ride. HeavyD set up his forces in two main groups, the nearer setting up to hold onto the nearest buildings with the other force across the gully playing for the end game. I set up to target three buildings that looked like I could get some forces into Melee on the first turn. I had my mobile force set up along a road allowing the option of bypassing HeavyD's initial force and making a run at the 2nd set of buildings in front of the gully dividing the town.
Turn 1
 |
| Turn 1 Prep Fire |
Things started off very well for me as my 60mm Mortars tore into HeavyD's concealed forces with abandon. My initial shots were long range ones at a concealed stack of three counters set up in a walled orchard hex. I opened with a CH and killed the leader there while breaking the squad possessing the MMG. After prep I moved out against the town and made good progress. I was able to use cover to make HeavyD's shot selection very tough. I lead with half squads and largely was able to get next to the three buildings I needed without taking many losses or having too many broken squads. During the course of the movement phase my sniper located and wounded HeavyD's 7-0 who was concealed. I thought this was a concealed squad and when it turned out to be a leader I was able to take advantage of that as well by making more aggressive moves then I would have.
 |
| Turn 1 Movement Phase |
 |
| Turn 1 on my Right |
 |
| End of Free French Turn 1 |
 |
| HeavyD ponders his move during his part of Turn 1 |
 |
| Start of Turn 2 |
 |
| The German 50L ATG is found out |
With my successes on turn 1 I knew that I would not have to worry about loosing the game due to not taking enough buildings and was able to think long term. Knowing that I had not yet seen the two hidden guns and the geography of the map also meant that it was highly unlikely that I was going to be able to get a win in turns 2 or 3. This was actually a benefit as I was able to still play aggressively but not recklessly. This turn saw me doing a little mopping up of Heavy's initial force while moving the bulk of my forces towards the gully and the remaining Germans lurking there. The 50L made an appearance, as I was able to scout out its location using half squads prior to even moving a vehicle. I was able to get into CC with the guns crew and take them out at the end of the turn. Once the gun was reveled I was able to move much more aggressively with my two tanks. HeavyD's 2nd turn was again a quick one as he didn't have much to do. My highly skilled mortar crews once again struck, eliminating the crew that was manning one of his mortars in the village.
 |
| End of Turn 2 |
Turn 3
 |
| Free French progress in the Center on Turn 3 |
 |
| My Right, Turn 3 |
During my movement phase on turn 3 I was able to advance at a brisk pace and close the distance on the remaining Germans. Over the course of the turn things started going from bad to worse for HeavyD as I was able to get closer and closer and his efforts to thwart my advance largely went unnoticed. Given that we still had 4 more turns to play HeavyD threw in the towel at the end of the turn. The combination of my Mortars tearing up his concealed forces and my tanks running around without worrying about the ATG I was able to quickly get very close to his remaining forces who where without a leader.
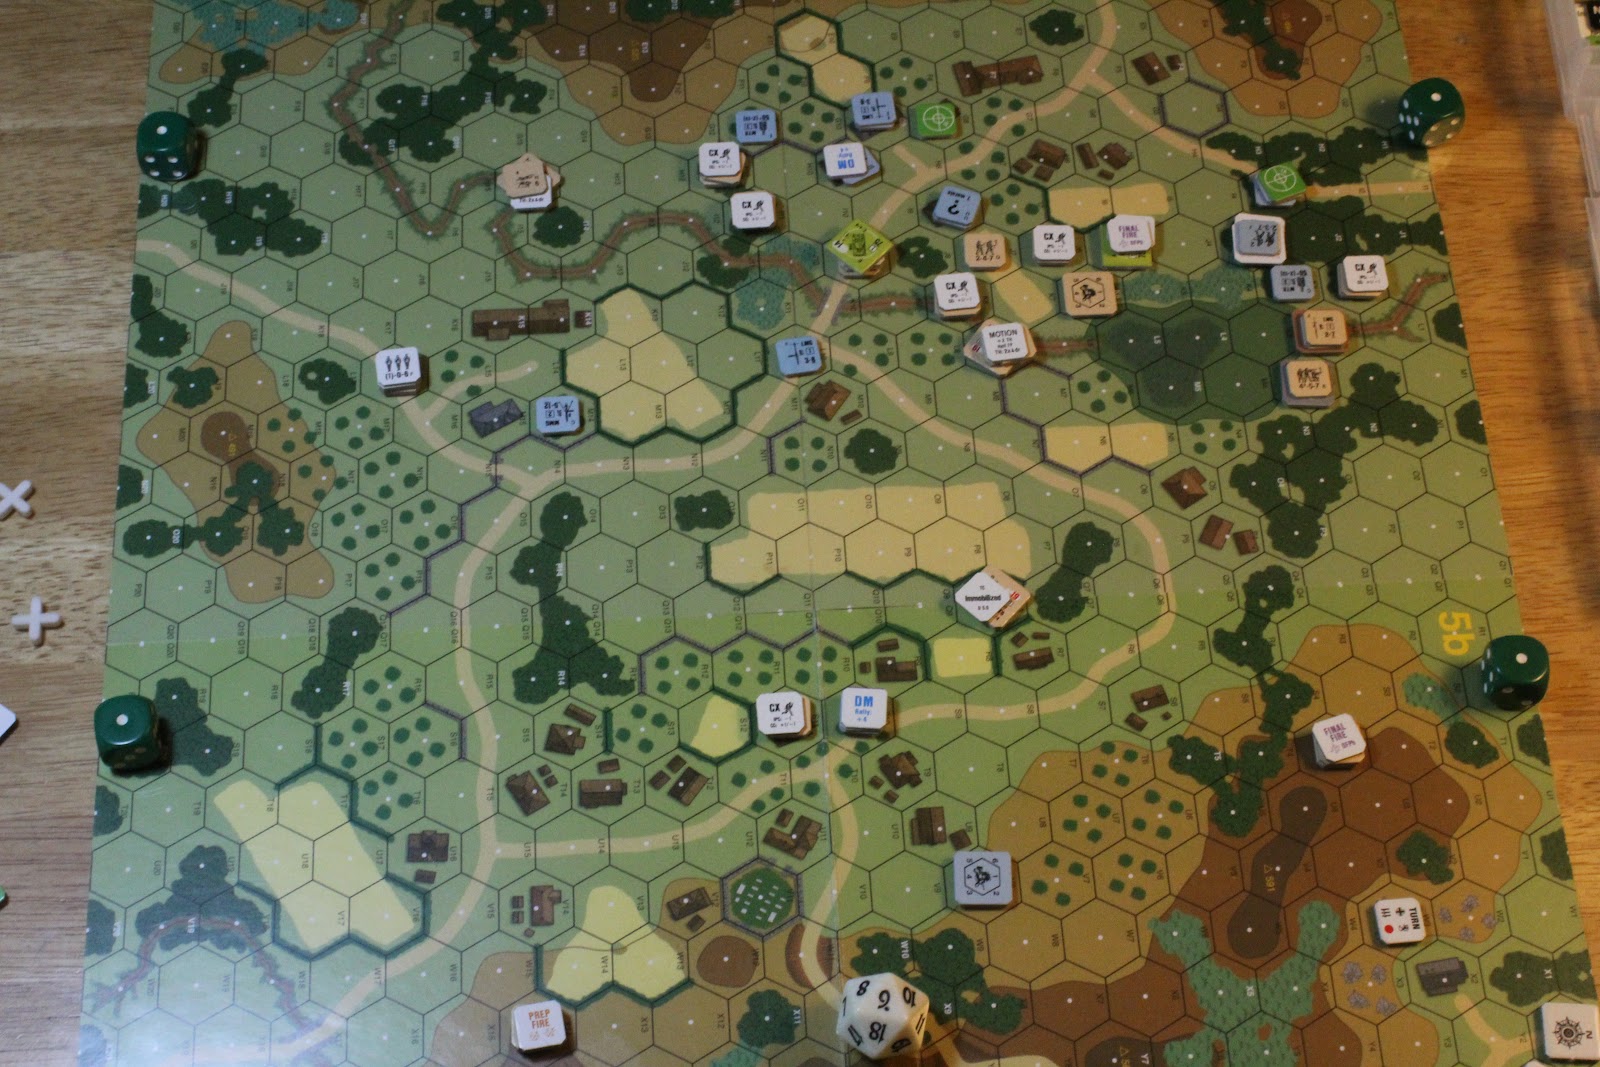 |
| Map at the end of the game (Turn 3) |
This was a fun scenario for me. HeavyD, while getting smashed still had a good time as we saw a lot of interesting things happen. One needs to be prepared for this one to end early as the VC's force each player to commit to not loosing on the first three turns.
No comments:
Post a Comment